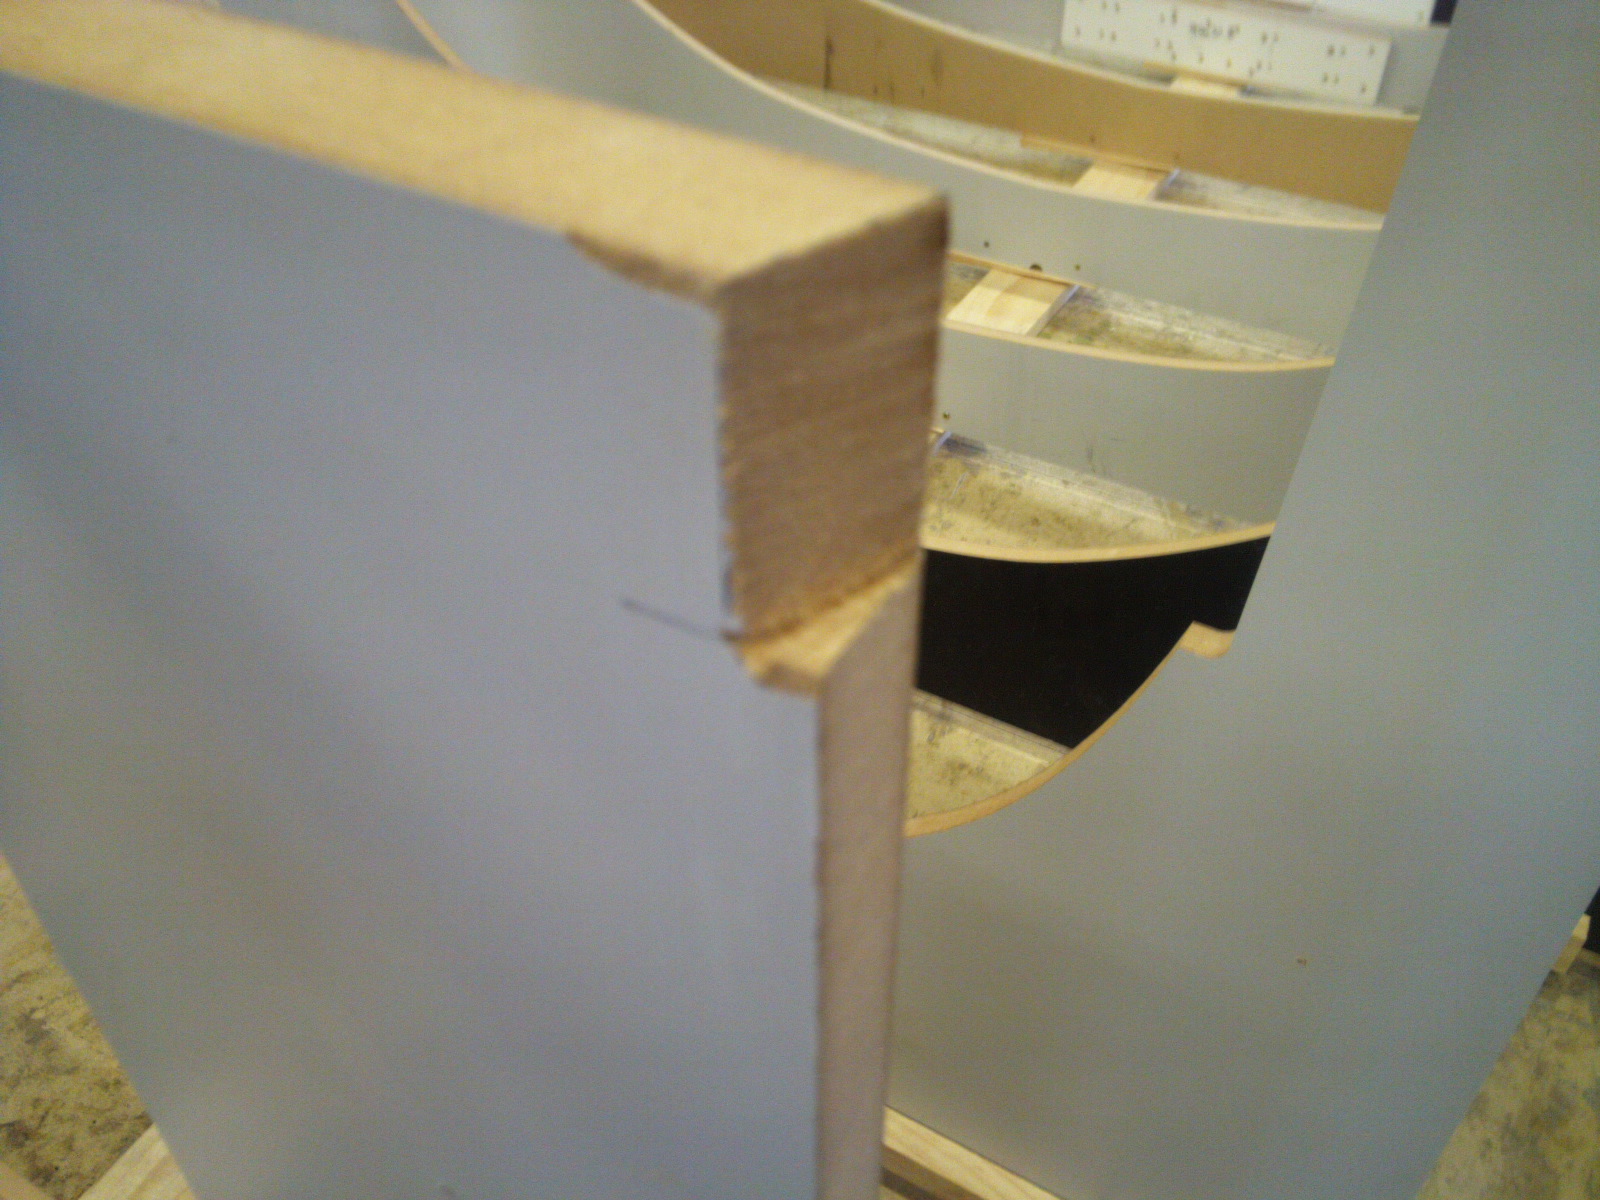
These photos represent our discussing and solving the problem of how to permanently support the boat so that whatever leaning or weight that is applied to the boat it won't just fall apart. We cut the frames back at the top to fit a thin plank that runs the distance forward to aft so each frame is supported against the others. Then as the drawing depicts, we ran another plank from the 10th frame down to the floor on a angle and glued and screwed in down. Now we can start planking, walking and nailing on the frames without worrying that they could fall over.
Thursday, May 26, 2011
Temporary Frames
The beam is slightly wider than they make mdf planks so we had to attach halved frames together. We first had them cut on a CNC which is an automated machine ran by a computer which after it has been programmed will cut basically any shape. After we attached the frame halves, ensuring they were square, we were able to start setting up the frames onto the building base. The photo with all of the levels is quite interesting in that it shows most of the ways that we had to worry about the frames being set up: plumbness, in-winding, and the waterline. We used a theodolite with some reference marks to set the remaining frames because it is considerably easier and more accurate. Also we had to attach the frames to something steady because there would be nothing worse than doing all of this work and then having them all fall over like a stack of cards.
The Grid
There were several things that we had to make sure that we did, most important of which was getting the centerline and forward and aft perpendicular completely square. All of the future frames or bulkheads or floors that will be ultimately referenced back to these lines so they need to be perfect. After we drew the lines on the concrete and attached planks using no more nails, we redrew the the centerline and attached blocks for the temporary frames that will support the structure.
Rob Shaw 5.5m
In March we started building a yacht designed by Rob Shaw, one of the teachers here. It is 5.5m LOA with a 2.4m beam. The boat has a fairly open cockpit which I really like. It has a plumb bow and has a strip-planked 8mm thick western red cedar hull with the topside and deck made of foam with varying densities and thickness. All of my future posts will be about the procedure, problems and answers in its construction.
Sunday, December 26, 2010
Attaching the Topside
The problem that we ran into when getting ready to attach the topside pieces was that the "jig" piece that can be used to create pressure weren't deep enough to account for the garboard or strake pieces. So we had to use long nails to keep them attached until the glue dried (We later learned that screws would have been a lot easier, we were trying to minimize the amount and width of hole, but regardless...). Anyway, so once we dry fit the side, and made our markings on the wood to be attached then we were able to apply the resin and hardener, once again using the WEST system. As another side note, we dry fit the piece multiple times because we kept on forgetting things. This is where a list and a manager, who has built boats before, could come into play. We could have a list of the things that we need to mark and check and look for in the first dry fitting and then only do it once and not waste the 30 minutes that we did. Also, we were very careful to note that when we hammered in a nail to realize that this nail would need to come out, so we got smaller bits of ply and other scrap and made little 25 by 25mm squares and hammered those in as well so when the glue hardened we could just break that off and retract the nail without damaging the topside. Here are some pictures of the topside. NOTE: we did a box landing joint at the bow and I will discuss this in a later blog as well.
"Handing" the Topside
One of the important aspects of building a boat is getting the heights or freeboard correct on either side. This can be very difficult a task because we build each side and then try to line them up as best we can. One way that we found to make this process just slightly easier is called handing. This is when you need to make 2 or more pieces the exact same but instead of drawing, cutting, planing and whatever else you can simply fasten the pieces together and draw, cut and plane once. We learned this technique the hard way because we only handed the strakes, not the garboard. Because we didnt had the garboard we had to somehow go back and plane off the uneven bits that were left on the bottom of the boat. I will post more on this later.
Subscribe to:
Posts (Atom)