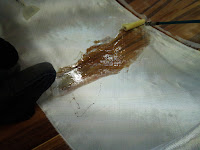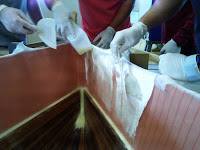


There are several steps that we had to remember when we actually started glassing. We had to get everything set out and ready for once we actually made the resin because it can become unworkable fairly quickly (something that was just seconds away from happening to us). We had to first plan how we would lay the glass out and what kind of an overlap the different sheets would have. After talking to the designer we learned that the overlap should be no less than 40mm but no more than 50mm, with 50mm being the ideal. We decided to start in the middle of the boat and do the two sections around that and leave the bow for last because it would require the most patience and skill. After we determined where the different sheets would lie we cut the peel-ply to the right length and started to mix the resin. Peel-ply is special for a couple reasons: 1. it keeps the job clean because we just tear it up when we are done 2. it flattens out the job and wicks up the excess resin. We used hand brushes, plastic spatulas and rollers to apply and spread out the resin. One thing that we found hard to do was to keep the glass cloth down in the chine, where the foam and wood join was. The resin would run down the topside and so the natural reaction is to squeegee it back up but that would pull the cloth from the join. We had squeegee down from the topside and up the wood planking. The bow was as predicted. Because the shape was so tight and narrow and the difficulty in dealing with the glass cloth we had position the cloth and really struggle to get the lay that we wanted. When we put down the peel-ply we just put two different sheets down because it doesnt really matter how it lies.


No comments:
Post a Comment